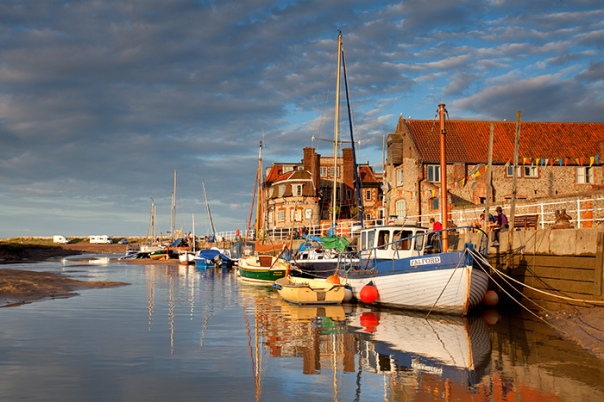
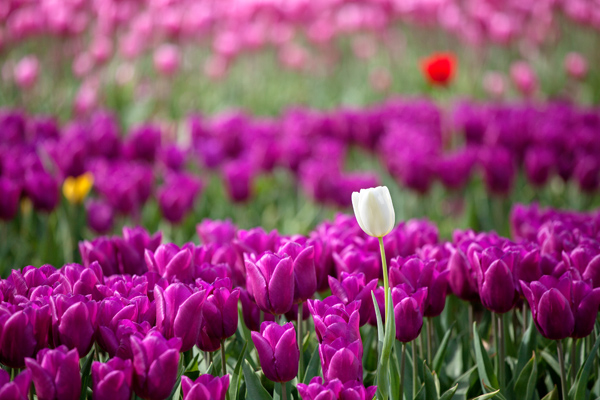
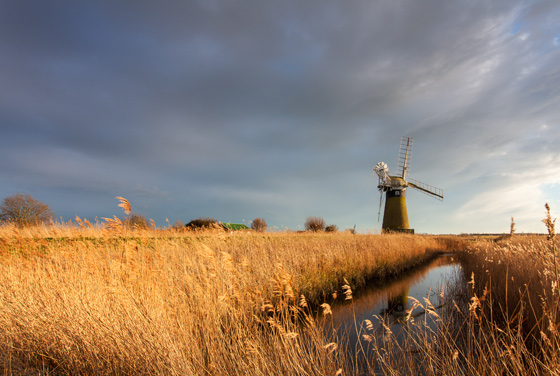
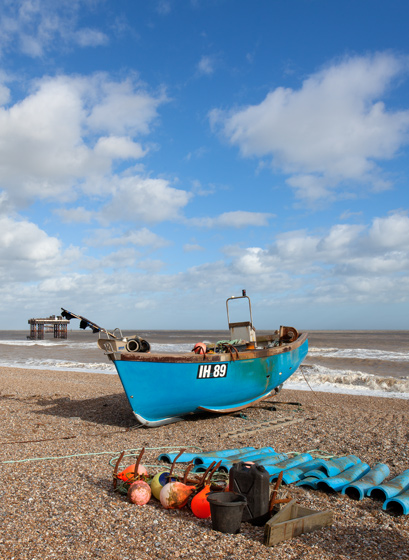
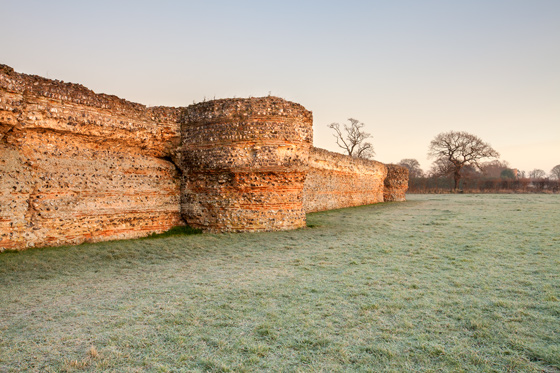
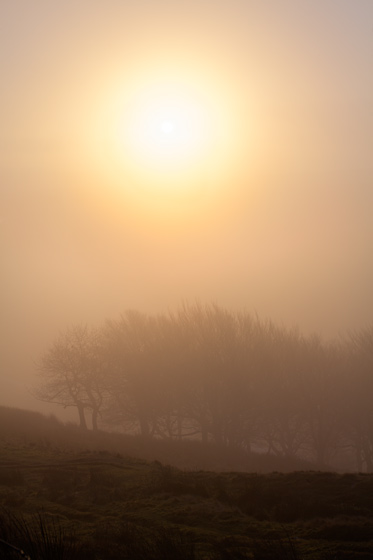
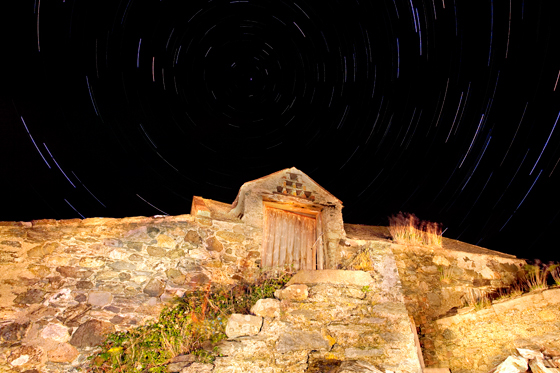
Here are my 16 favourite images from 2016.
14 favourite images from 2014
I can’t belive its been a year since I did my favourite 13 images of 2013. Here are my 14 favourites from 2014.
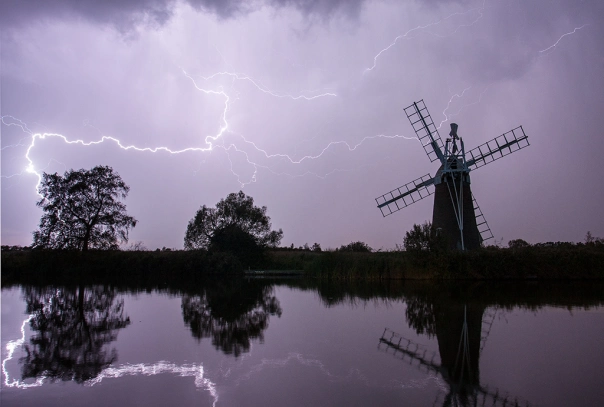 Turf Fen drainage mill on the River Ant during a passing thunderstorm on the Norfolk Broads
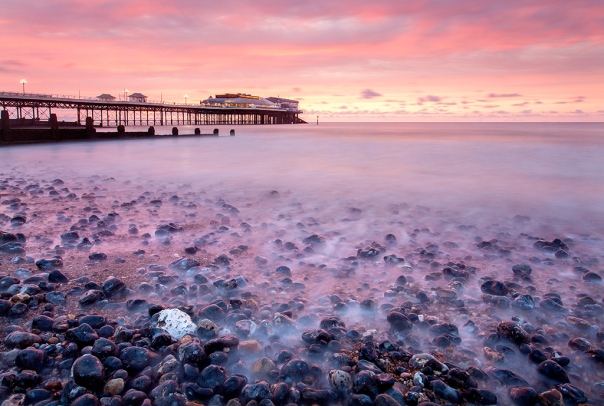 Cromer Pier at sunset on a summer’s evening on the Norfolk Coast
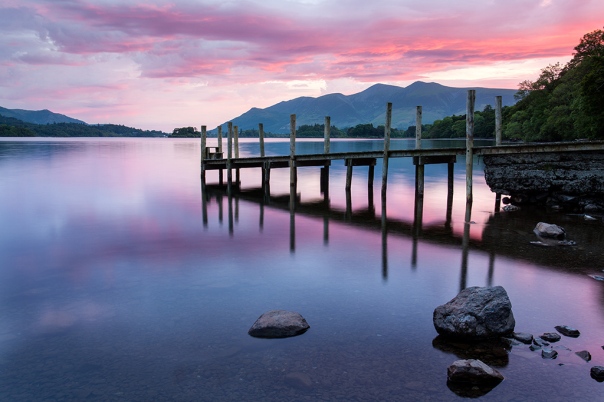 Derwent Water on a June morning in the Lake District
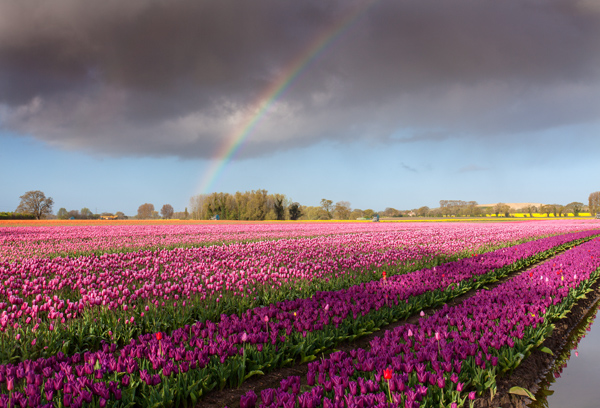
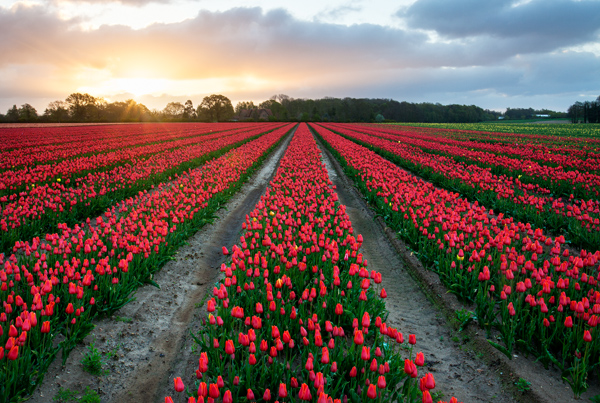
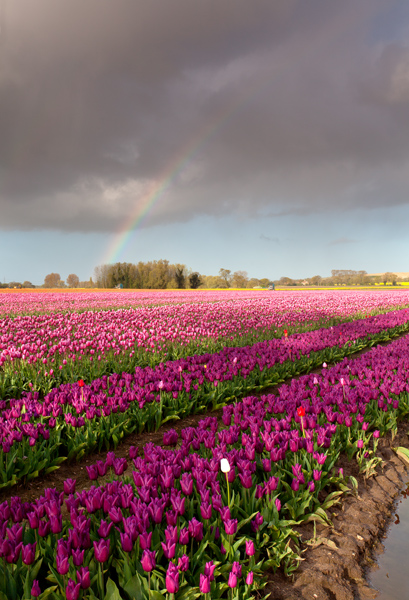
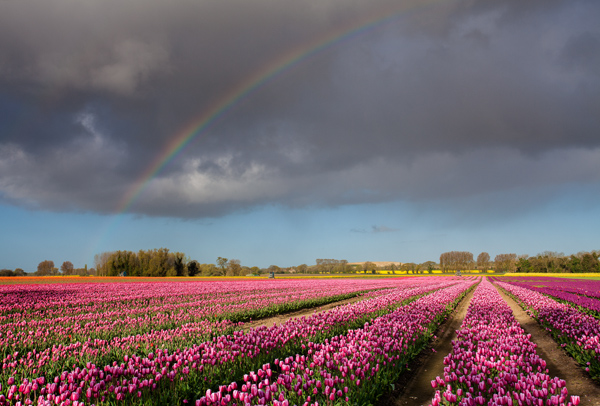
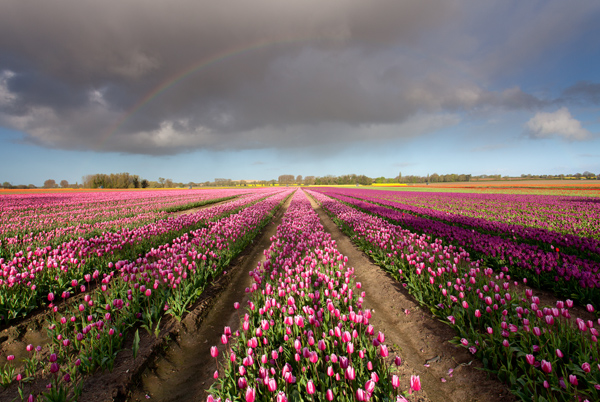
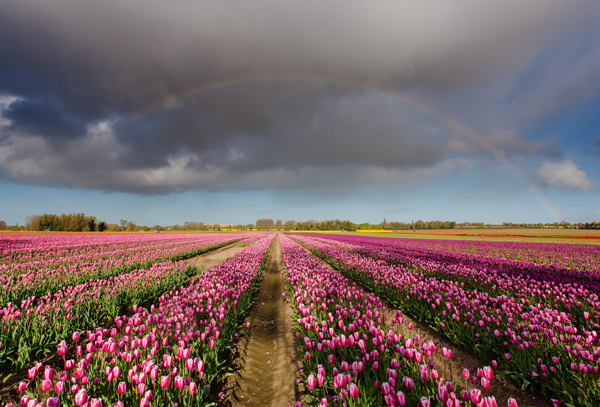
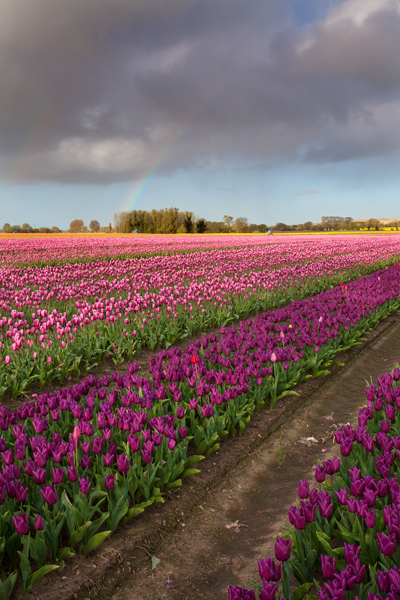
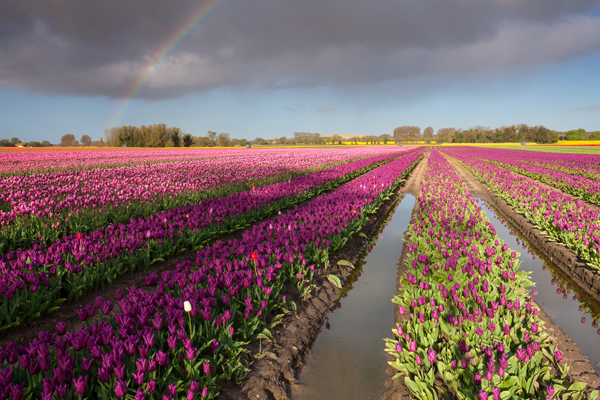
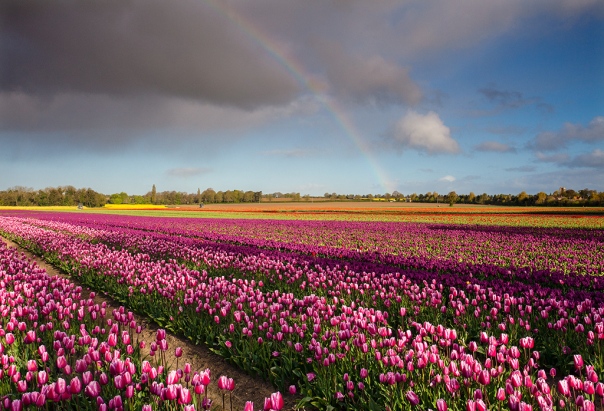 Tulip field & rainbow in the Norfolk Countryside
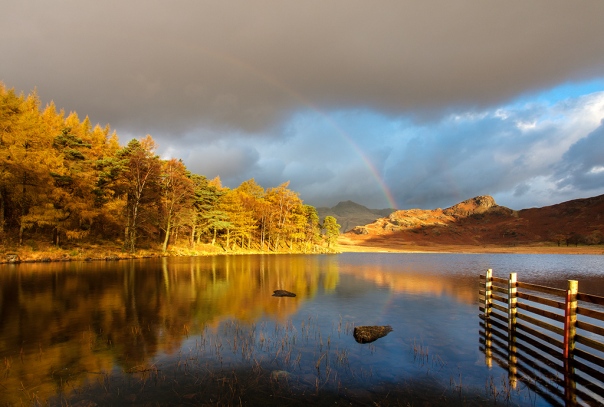 Blea Tarn and rainbow at first light in the Lake District
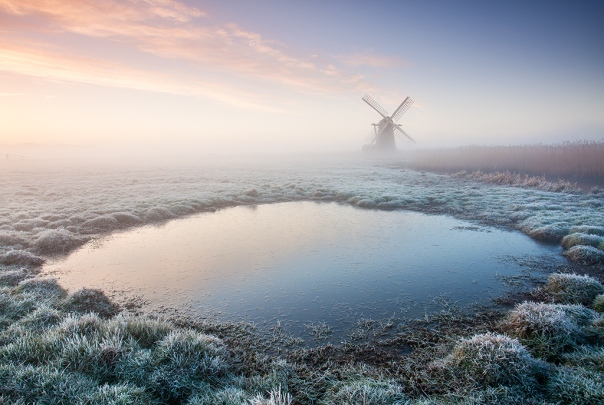 Herringfleet Drainage Mill on a frosty winters morning in the Suffolk countryside
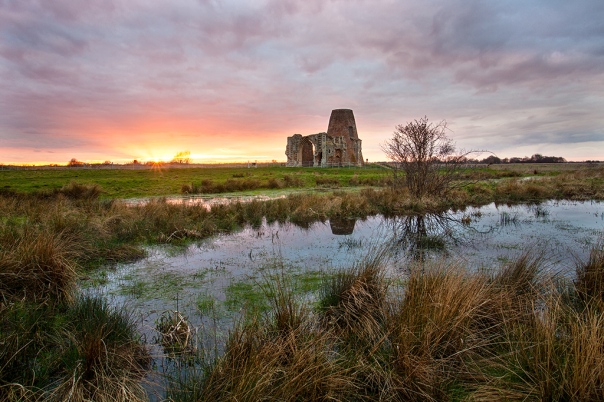 St Benet’s Abbey on the Norfolk Broads
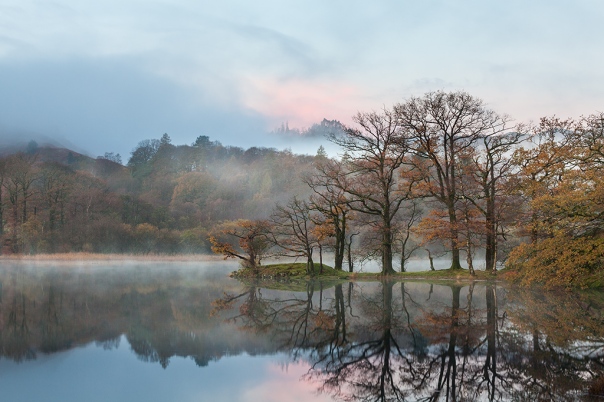 Rydal Water at first light in the Lake District on a November morning
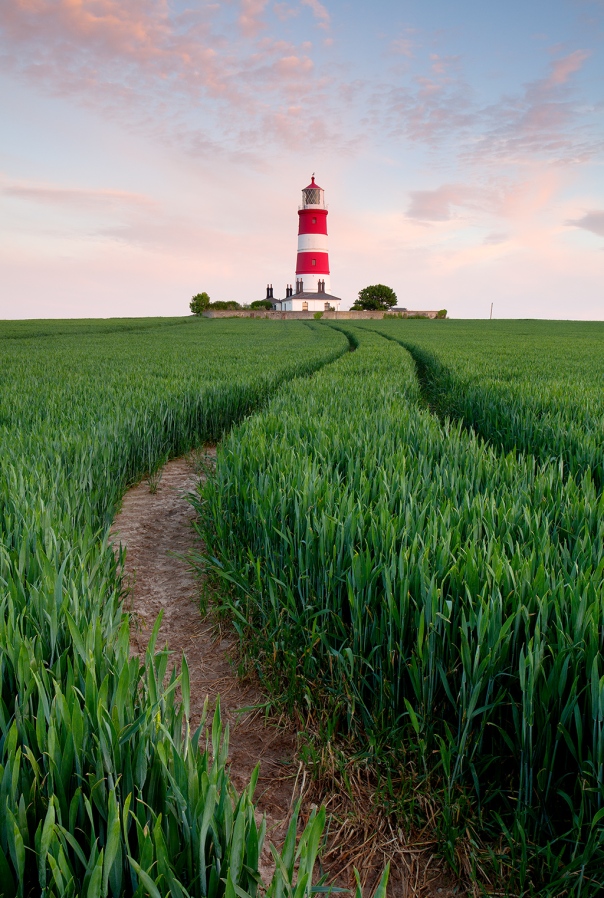 Happisburgh Lighthouse on the Norfolk Coast
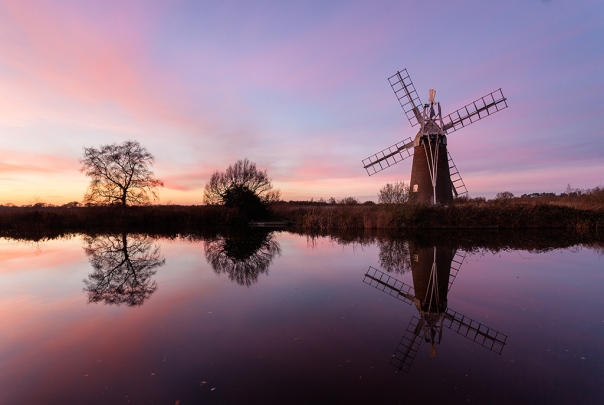 Turf Fen mill at sunset on the River Ant, Norfolk Broads
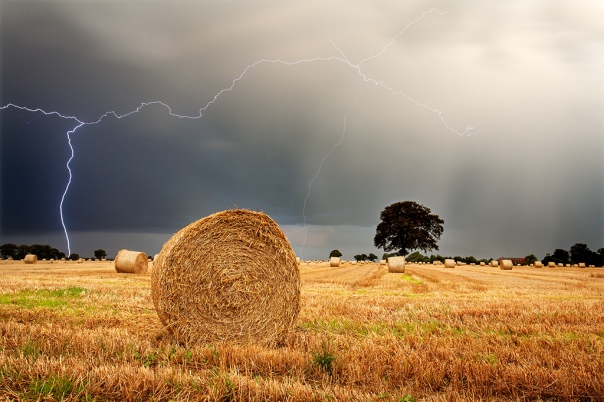 A storm passes over a field of straw bales in the Norfolk countryside
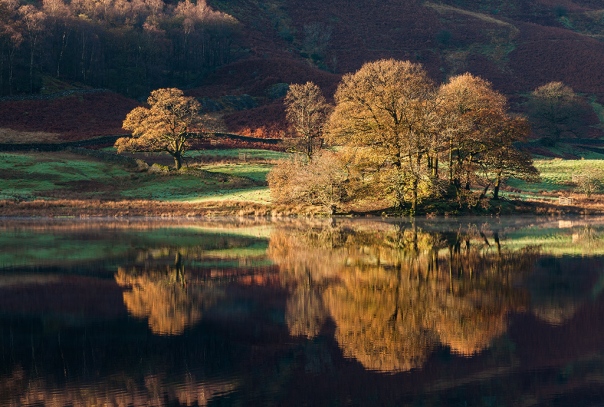 Autumn reflections in the Lake District
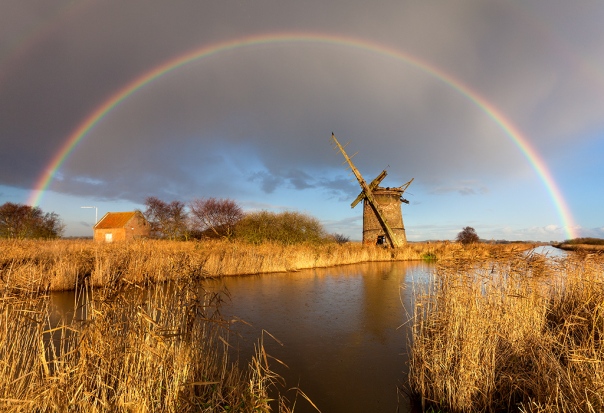 A storm passes over Brograve Drainage Mill on the Waxham New Cut, Norfolk Broads
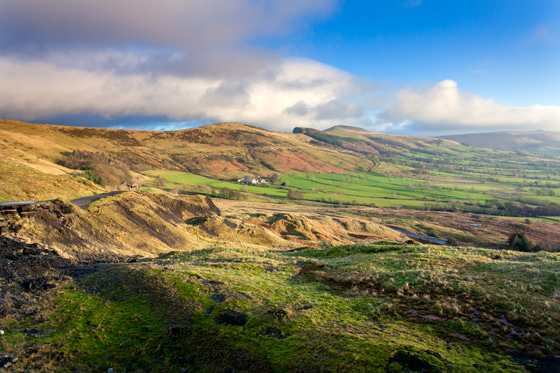
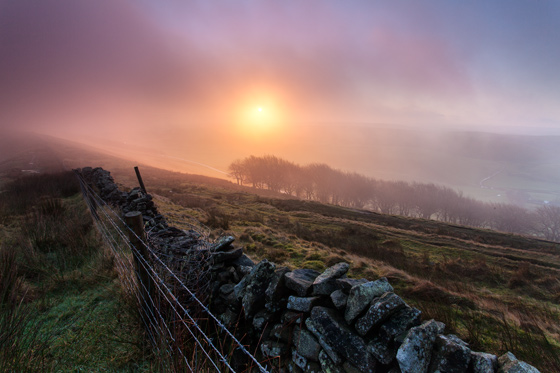
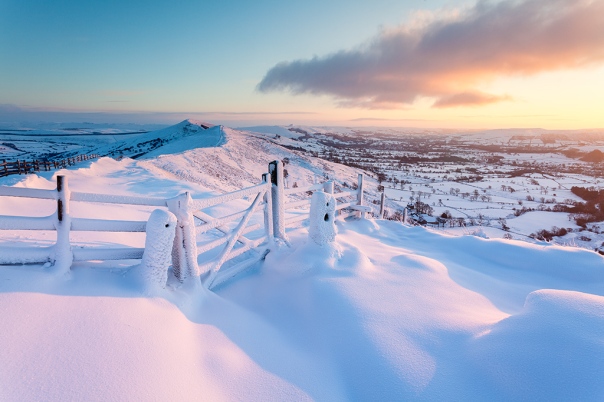 One from just a few day ago from the Great Ridge above Castleton in the Peak District
New Summer Images
Below is a selection of new images taken over the summer months.

Brancaster Staithe at sunset on the North Norfolk Coast

A fantastic sunrise over Derwent Water in the Lake District

Brancaster Staithe at last light on the North Norfolk Coast

Summer greens in the Lake District

Derwent Water at dawn

A vibrant sunset over Cromer Pier on the North Norfolk Coast

Summer Colour at Crummock Water in the Lakes

Castlerigg Stone Circle at dawn

Happisburgh Lighthouse during a long exposure

View over the Solway, Cumbria

Buttermere on a stormy summers morning

Summer colour at Castle Acre near Swaffham, Norfolk

Cromer Pier at sunset on the Norfolk Coast

Illuminated by light in the Lake District

Summer dawn at Derwent Water in the Lake District

Crummock Water, Lake District

Norfolk Barley Field

Buttermere

Summer stream, Cumbria

Castlerigg Stone Circle at first light

Cromer Pier at sunset on the Norfolk Coast

Crummock Water on a summers morning

Stormy skies at Castlerigg Stone Circle

Poppy field in the Norfolk countryside

Two horse riders in a field of wheat at Happisburgh on the Norfolk Coast

Derwent Water at dawn

Castlerigg on a summers morning

Cromer Pier

Lake Buttermere, Cumbria

Thunderstorm and straw bale field near Clippesby in Norfolk

The view from Over Owler Tor under a pasing storm in the Peak District

Summer light on the quay at Blakeney

Martello Tower Aldeburgh at last light

A vibrant sunset over the Hope Valley in the Peak District

Dead tree near Snape Maltings

Double rainbow over a freshly harvested field in the Norfolk Countryside

The town of Holt on a summers evening in Norfolk

Boats at Moston on the North Norfolk Coast

Summer heather on the dunes at Winterton-On-Sea, Norfolk Coast

Summer storm in the Norfolk Countryside

Last light on Carhead Rocks in the Peak District

Westleton Heath, Suffolk

Winterton, Norfolk Coast

Looking towards Higger Tor from Over owler Tor in the Peak District

Fishermans huts at Winterton, Norfolk Coast

Fairbrook in the Peak District

Storm captured from Over Owler Tor in the Peak District, Derbyshire

Last light on the dunes at Winterton, Norfolk Coast

Summer Storm

Sunset from Carhead Rocks in the Peak District

Some of the strangest colours I have ever seen as the rain started poring down just before sunset.

Warm evening light on Blakeney Quay, Norfolk Coast

First Light, Curbar Edge

The wonderful view from the top of Curbar Edge in the Peak District

Fairbrook on a summers morning, Peak District

The historic Hunters Fleet on the Norfolk Broads

Lindisfarne Castle

First light on the Heather at Curbar Edge

Mist above the village of Calver, Derbyshire

Cromer Pier at dusk on the Norfolk Coast

Morning light Baslow Edge, Derbyshire

Turf Fen mill at sunset, Norfolk Broads

First Light, Curbar Edge Peak District

A misty sunrise of the dunes at Lindisfarne, Northumberland Coast
Giottos Silk Road YTL8213 Tripod Review
For over ten years now I have been using a Gitzo carbon fibre G1227 Mk 2 tripod along with another Manfrotto 055 carbon fibre tripod as a backup tripod that gets occasional use. The Gitzo has been a joy to use over the years, it has been quick and easy to set up, nice and stable and relatively light. Recently I got the chance to use one of the new Giottos silk Road YTL8213 tripods. This tripod has a much higher maximum height of 163cm without the centre column raised compared to my Gitzo which has a max height of 138.9. The Giottos also has a higher max weight allowance of 10kg compared to 7.98 for the Gitzo. With the central column raised the YTL8213 tripod achieves a whopping height of 194cms. On paper the specs were impressive, but specs are not everything, the real test for me would be what it was like using in the field.
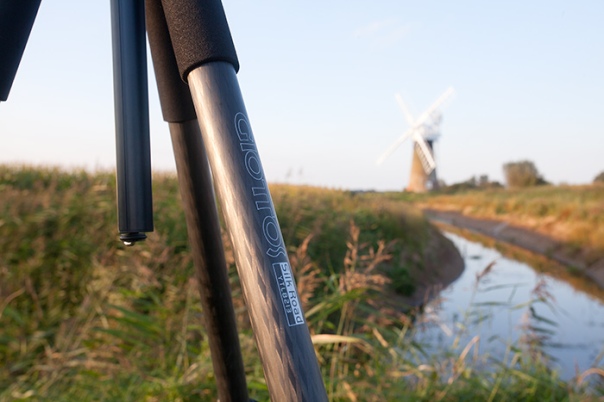
After trying the tripod out on location I was so impressed with the tripod I continued to use it and have been using the Giottos for around ten weeks now so I thought I would share my experiences of using it so far along with a few images taken along the way.
Upon opening the Tripod first thoughts were that I was really impressed with the build quality and sturdy feel. It really has a quality feel and looks extremely well made. The legs were actually much thicker than my Gitzo so I was a little worried it might not be quite so easy to carry in just one hand. I never bother with Tripod bags and never bother strapping my tripod into my Lowerpro backpack; I just find it quicker and easier to hold in the hand, even on longer hikes. I find longer walks it can double up nicely as a bit of a walking stick to help with balance, especially when crossing streams or walking on the muddy salt marshes of the North Norfolk coast which can be a bit like walking on ice at times.
Fortunately after my first outing with the tripod it soon became apparent this was not going to be a problem and I could actually fit just one hand around this tripod comfortably. This is definitely due to the new central column design by Giottos. A standard tripod has a normal barrel central column where as Giottos has a new Y shaped central column. This design supposedly saves 30% of space as the legs squeeze into the Y groves meaning the tripod is much more compact. I had read about this before I received the tripod and my first thoughts were why! It felt like a gimmick that was trying to solve an issue that wasn’t really a problem in the first place, but after using it I actually think it’s a really neat idea. With this model of tripods the legs are very thick, which gives the tripod a real sturdy base to start from. However, without the Y shaped central column the tripod would have been a bit bulky to carry around. Where as with it the tripod feels absolutely fine.
 The above left shows the Giottos Silk Road centre column and above right a traditional centre column
Despite being much larger than the Gitzo I was used to, the Giottos is actually a similar weight. However, at the same time it actually feels sturdier. One thing I would struggle to live without is a hook from the bottom of the central column. I use my tripod a lot on heather moorland which is very spongy and can be a problem as a solid base, but the extra weight of my heavy camera bag suspended from the hook weighs it down enough and gives a nice stable base to work from. With lighter carbon fibre tripods it also gives you confidence to leave your camera set up in windy conditions without having to hold the legs all the time for fear of the whole thing blowing over.
The tripod hook on the Gitzo was nice and large, the one of the Giottos though is tucked away and not so large. This is not a major problem, but it does mean that the large handle / strap on the very top of my Lowepro Trekker bag is too thick to use on the hook so I have to use one of the other straps on bag. It is also tucked away neatly and has to be pulled down from out of the bottom of the central column. Again this is not a major problem, but with winter coming up it will mean removing any gloves to do this and it will probably be a bit more fiddly with freezing cold hands.
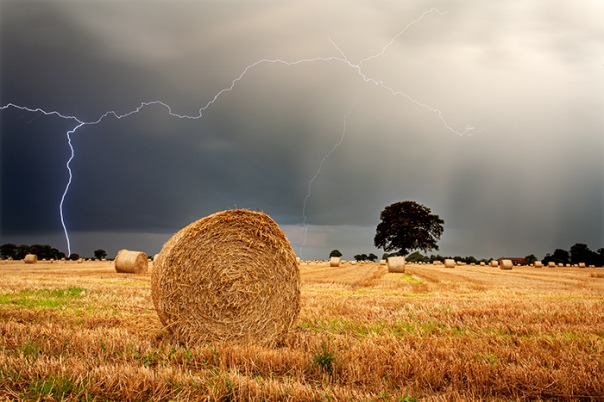 One from the Norfolk Countryside back in August
The locking leg clamps on the YTL8213 are easy to use and feel strong and secure. They are clamp locks like you find on the Manfrotto tripods. I do like the twist mechanism you find on the Gitzo’s, but they can be a bit of a killer to twist come winter when your hands are freezing and you get the pattern of the twist mechanism engraved in your hand as you try and tighten the thing.
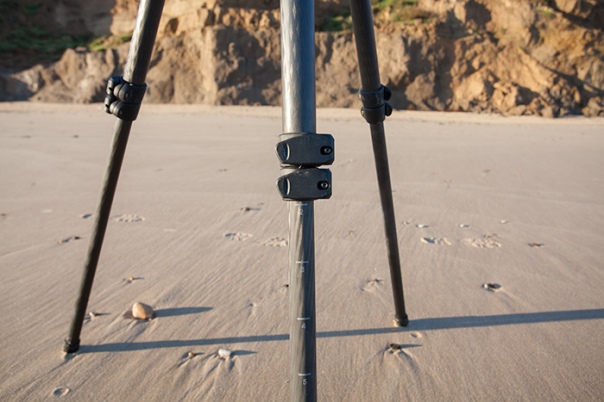 One of the things I do find really useful on the Giottos is the graduated leg markings which mean it’s really quick and easy to set all three legs up to exactly the same height. After using them for a short while I am already thinking to myself how did I ever live without them. It’s one of the small thinks that just make your life a tiny bit easier and quicker when setting the tripod height up.
Foam padding on the legs makes it comfortable to hold the tripod and I am sure come winter it will be much more comfortable to hold on those cold mornings. By now you can probably see a pattern emerging that I hate getting cold hands in the winter.
This tripod has three leg angled positions that allow you to get the tripod into a wide range of leg positions and low heights. In fact you can get as low as 15cm.
I wasn’t expecting to change my Gitzo at all, I was happy and comfortable using it but after my experiences with the Giottos silkroad YTL8213 over the summer has meant this is now my tripod of choice, the Gitzo is the backup tripod and the Manfrotto is about to be listed on Ebay. The tripod really does everything a landscape photographer could want from a tripod, it is very solid, seems well built with great maximum height and low level capabilities. It will also support a maximum weight of 10kg. Having the Y shaped centre column saving space means it is easier to carry in the hand for a tripod with such thick legs. The foam padded legs and leg markings are also a nice touch. I would love a slightly larger hook on the tripod to suspend my camera bag from, but that is the only slight negative thing I could say on this tripod and the important thing for me is at least it does have a decent tripod hook from the centre column.
This tripod has been worked hard in the last ten weeks, often around salt water and has been used in some extremely windy and wet conditions, but the tripod has not let me down and still feels like new. If you are looking for a new tripod and you consider how much tripod you get for your money compared to some of the other manufactures it really is worth considering.
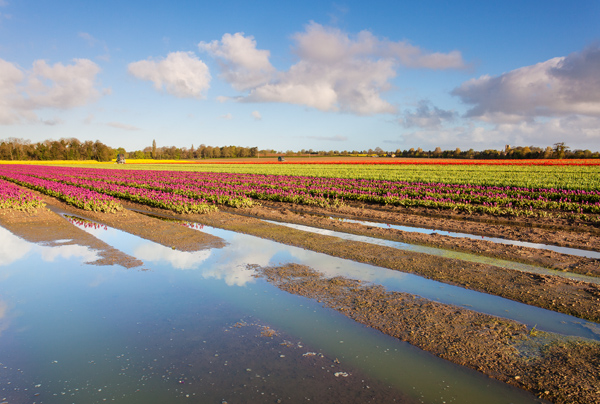
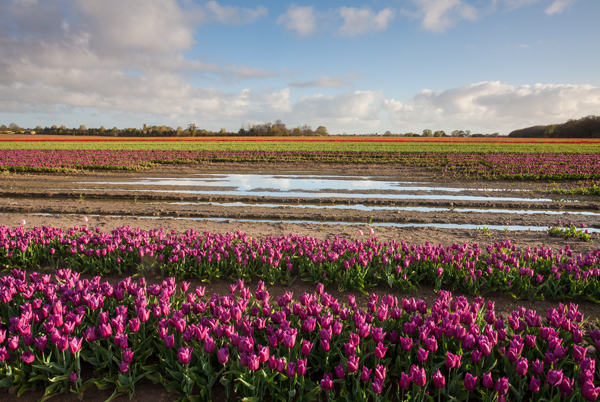
Tulip Fields in the Norfolk Countryside Two Years On
Two years ago I posted a blog with some images captured at a Tulip field in Norfolk, UK. The original blog can be found here.
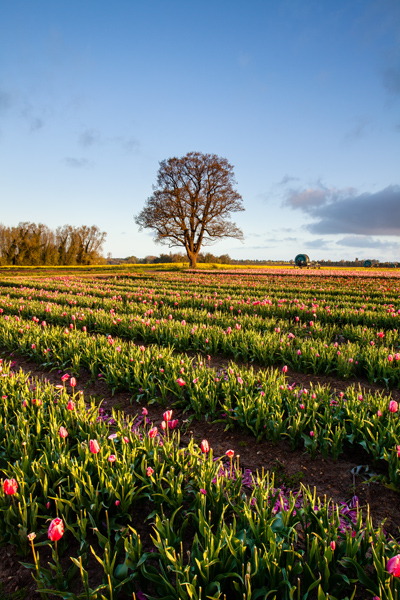
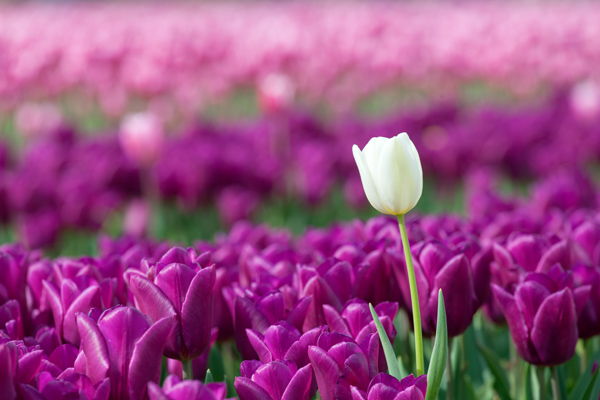
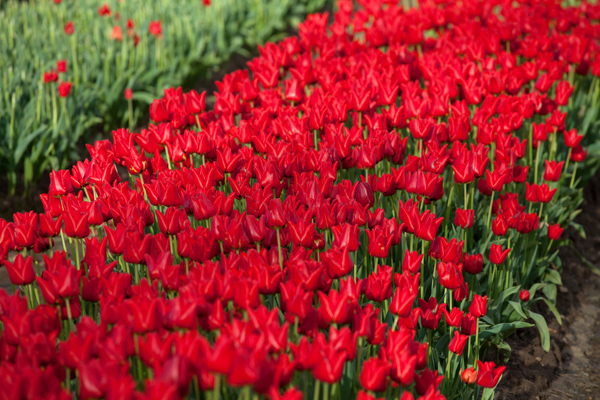
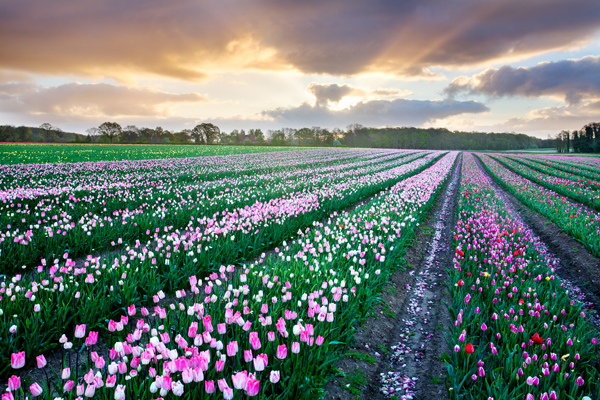
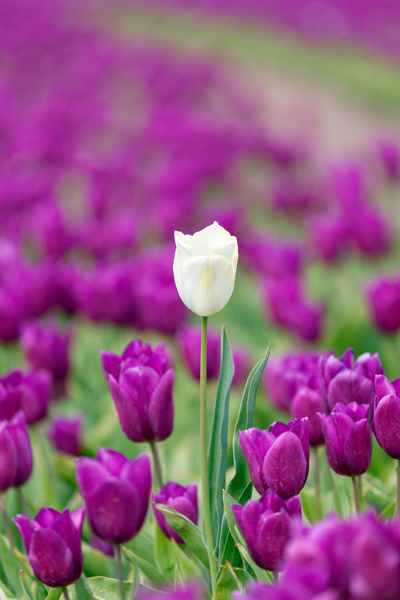
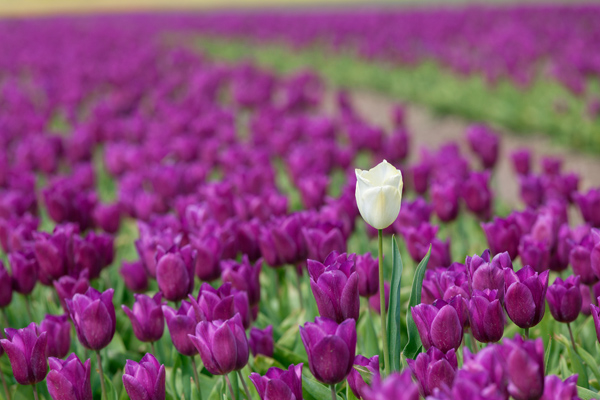
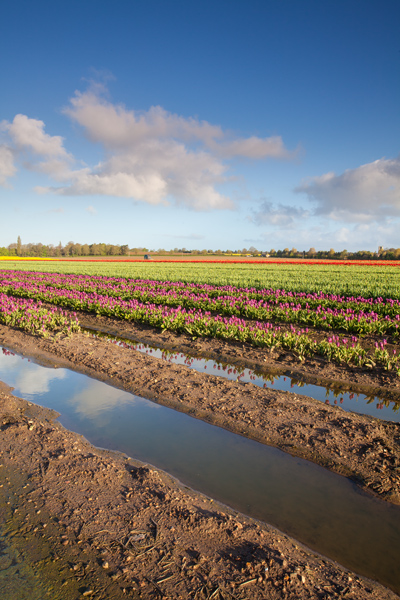
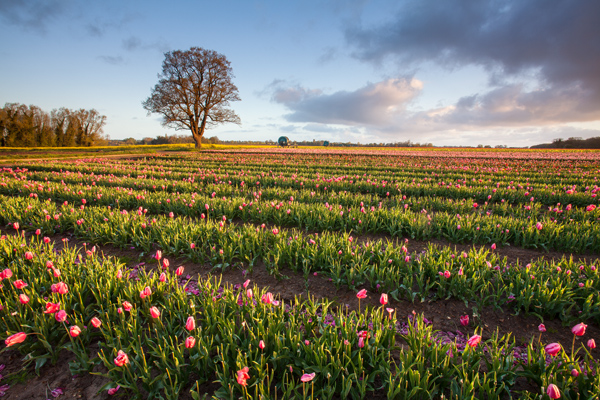
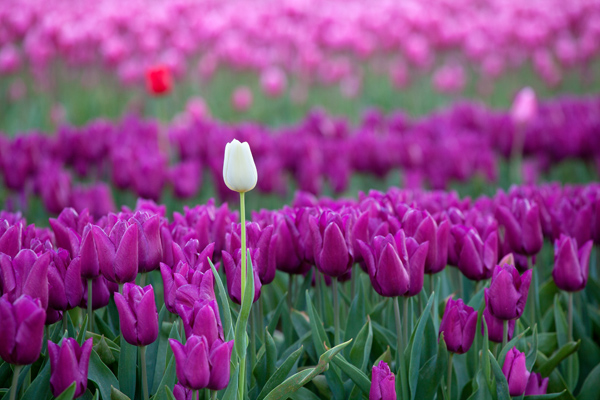
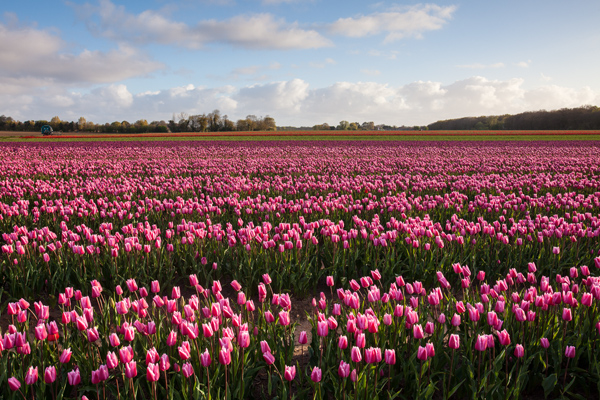
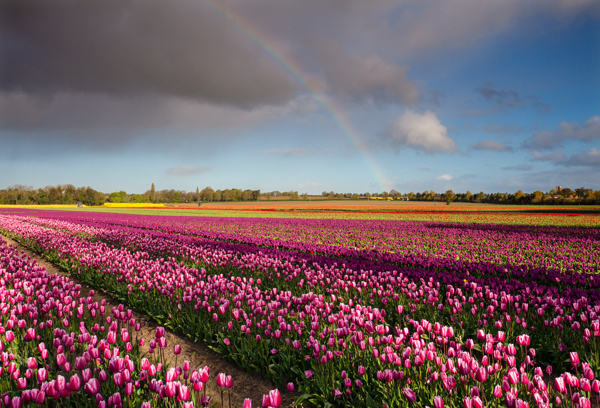
Well two years later I have shot another Tulip Field in the Norfolk Countryside and below are a few images from that shoot. This years shoot was at a different field to last time and I arrived a little late as quite a few of the colours had already been de-headed. The tulips are grown for their bulbs here so once the flowers are developed they soon get their heads cut off so more energy goes into the bulb rather than the flowers. This year we had a really mild spring so the tulips were much earlier than normal too. This shoot required a 3.15 am alarm call to get to the location in time for sunrise. After around 90 mins shooting the tulips I was then leaving when all of a sudden a rainbow appeared so it was a case of quickly running back and grabbing a few shots.
New Images
Here are a selection of new images captured in January and February.
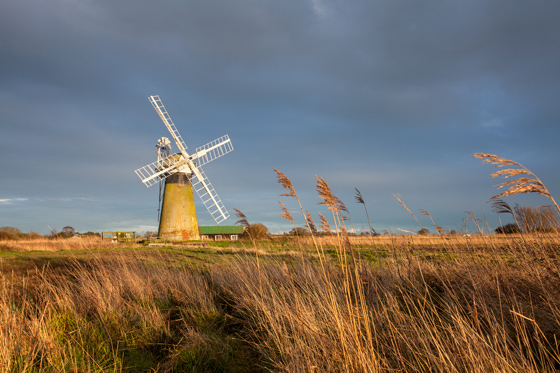 St Benets Level Drainage Mill on the Norfolk Broads
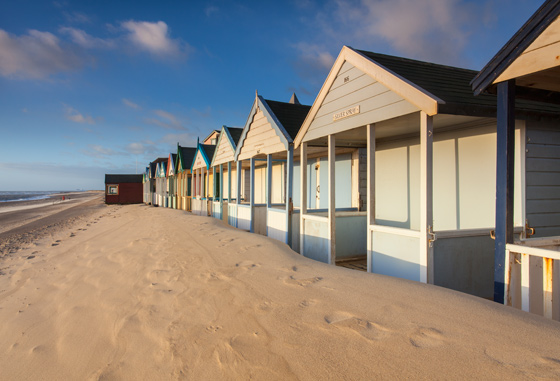
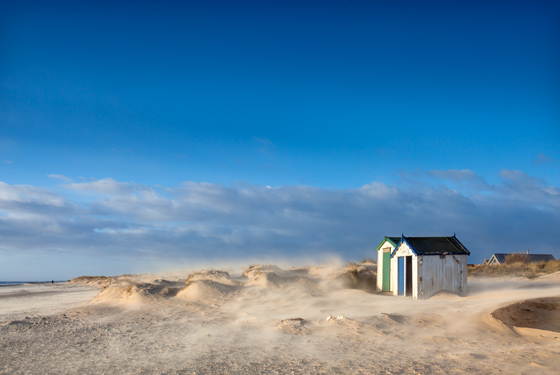
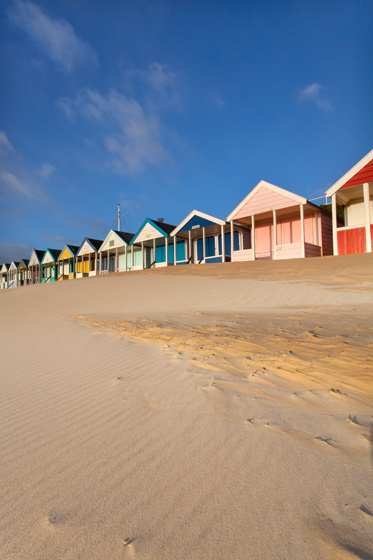
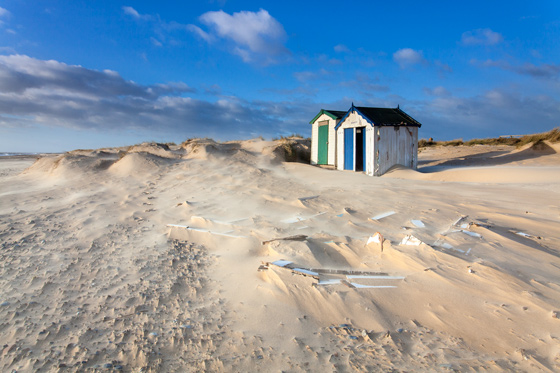 Two surviving beach huts on the dunes at Southwold in Suffolk. In the foreground the remains of a hut that was damaged in the winter storms can be seen.
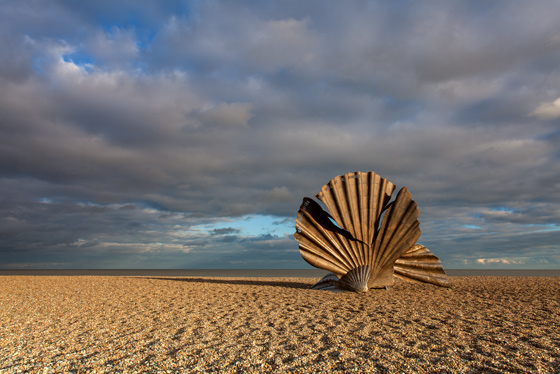 The Scallop sculpture at Aldeburgh on the Suffolk Coast
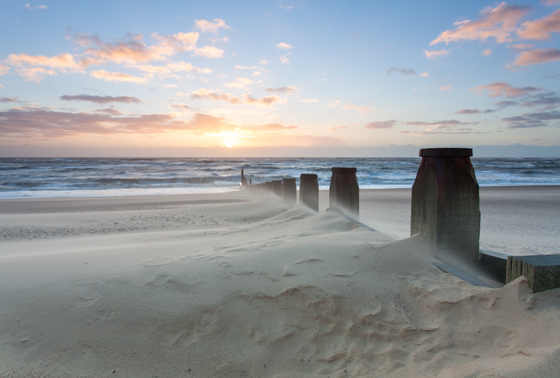 A windy morning on the beach at Southwold
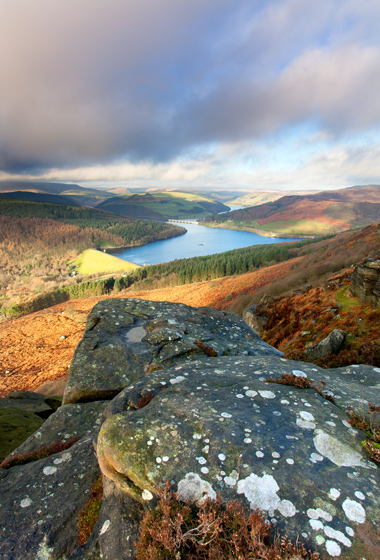 Bamford Edge in the Peak District
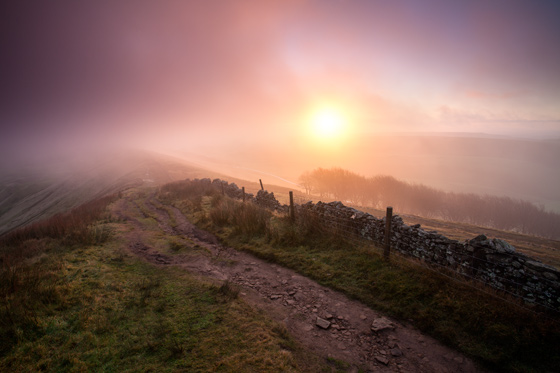 Rushup Edge in the Peak District at sunrise
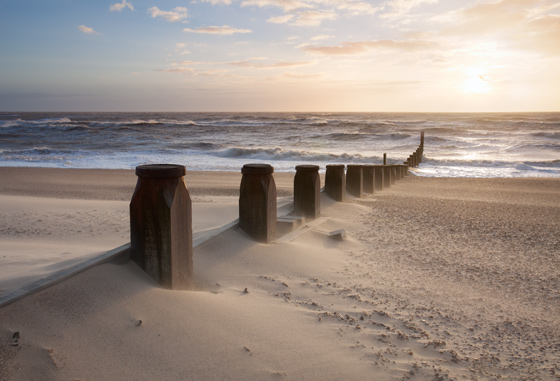
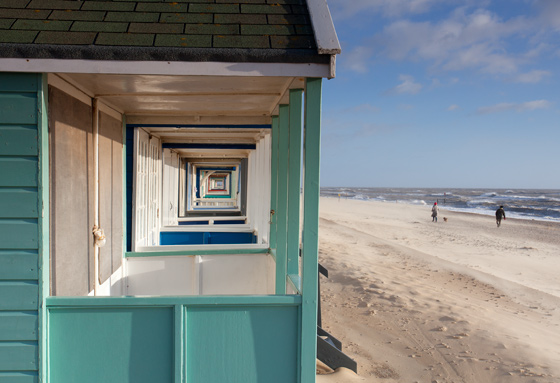 A morning stroll on Southwold Beach
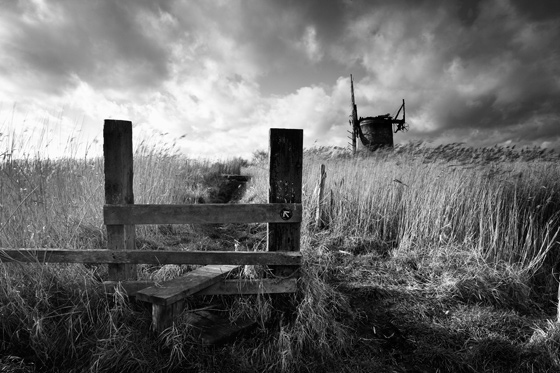 Brograve Drainage Mill on the Norfolk Broads
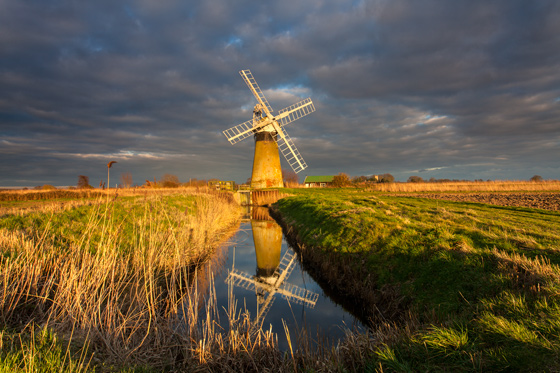 St Benet’s windpump on the Norfolk Broads
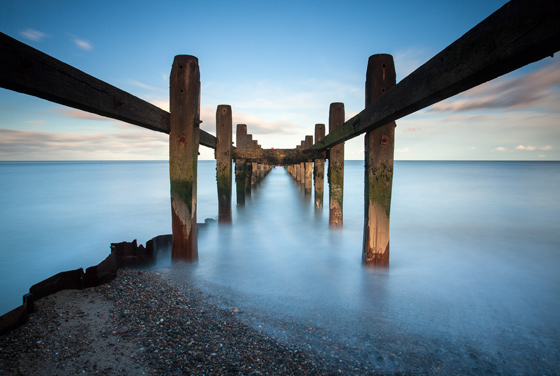 Lowestoft North Beach, Suffolk
New Printing & Framing Website
Along with photography I also offer fine art printing and picture framing to other photographers and artists here in the UK. I have just finished updating the website for this. The web address is http://www.Photographyprinting.co.uk
The page also has a rather neglected Facebook page, however I hope to add lots of articles here for printing and mounting tips.
https://www.facebook.com/Giclee?ref=hl
13 images from 2013
Here are my 13 favourite images from 2013.
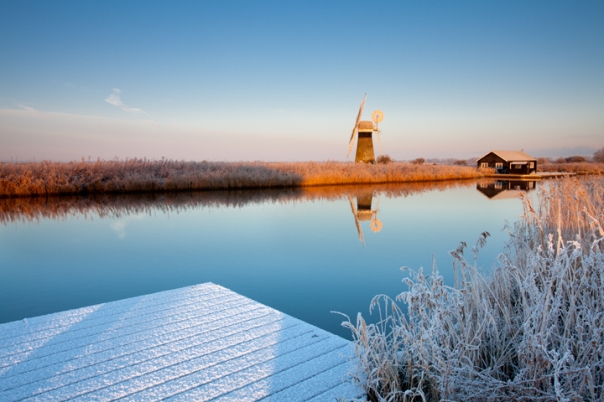 St Benet’s Drainage Mill at first light following winter snowfall
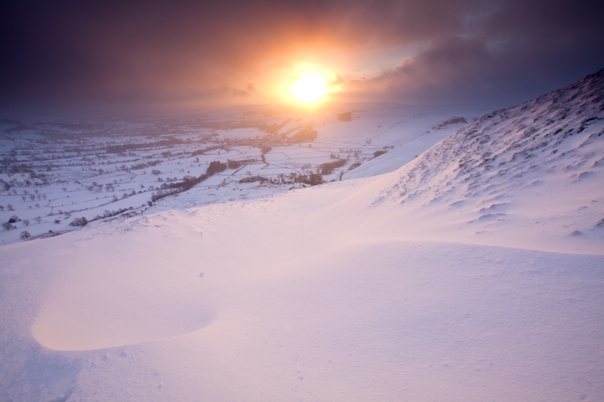 The Hope Valley At Dawn in the Peak District
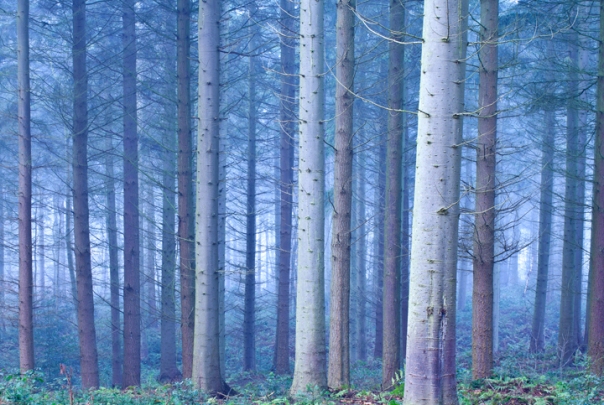 Bacton Woods in Norfolk on a foggy morning
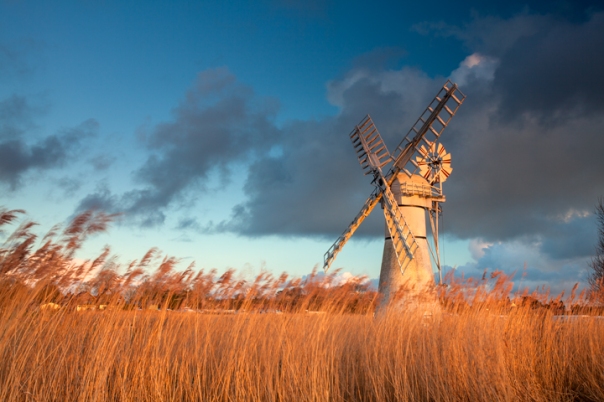 Thurne Drainage Mill on the Norfolk Broads
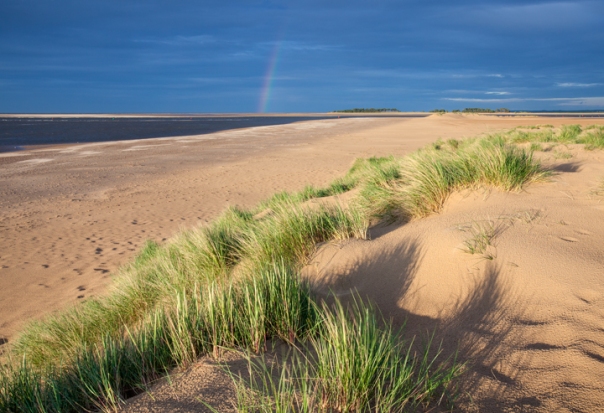 Wells Next The Sea on the North Norfolk Coast
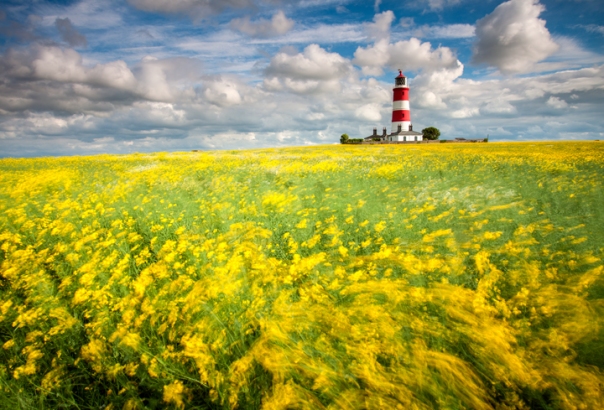 Happisburgh Lighthouse & oil seed rape on the Norfolk Coast
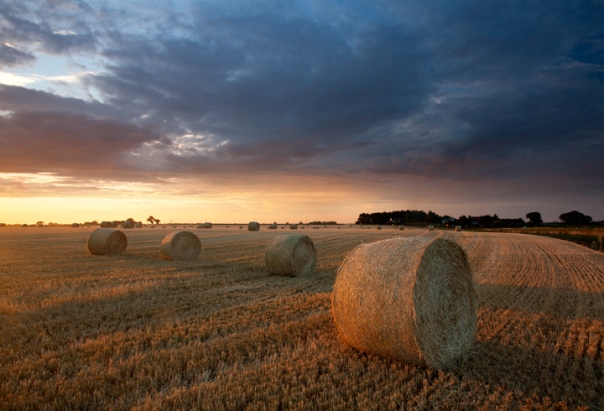 Harvest light at Repps in Norfolk
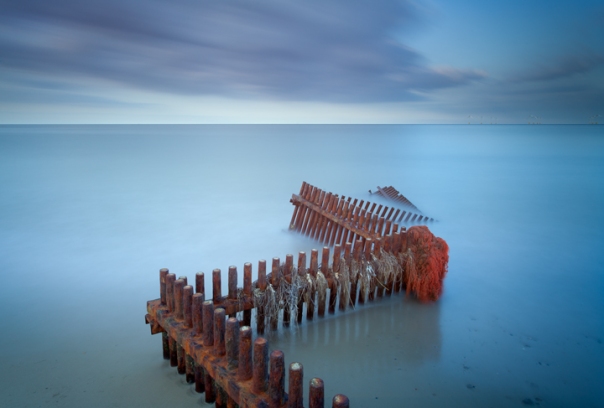 Ten Stopper at Caister in Norfolk
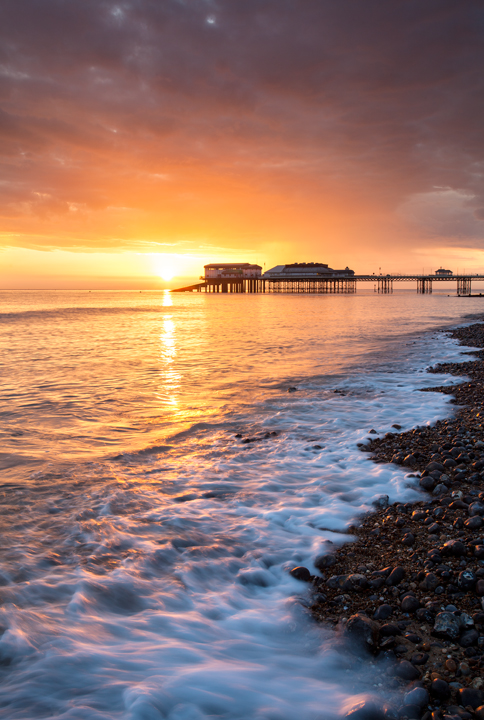 Cromer Pier at sunrise on the North Norfolk Coast
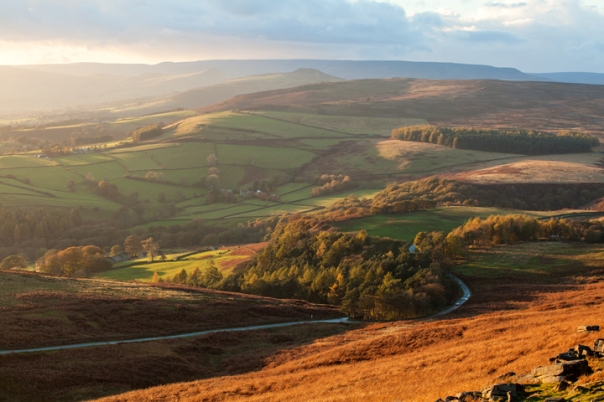 Autumn Light in the Peak District National Park
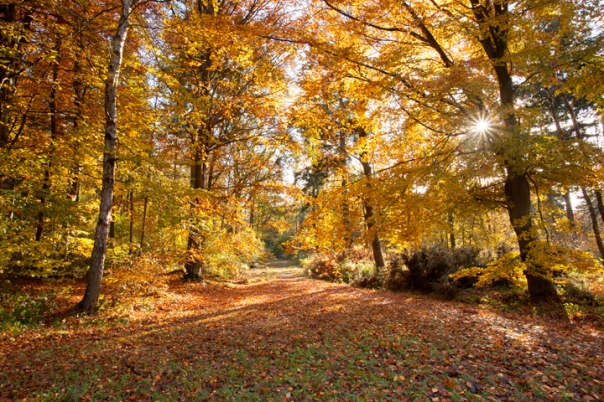 Autumn morning at Bacton Woods in Norfolk
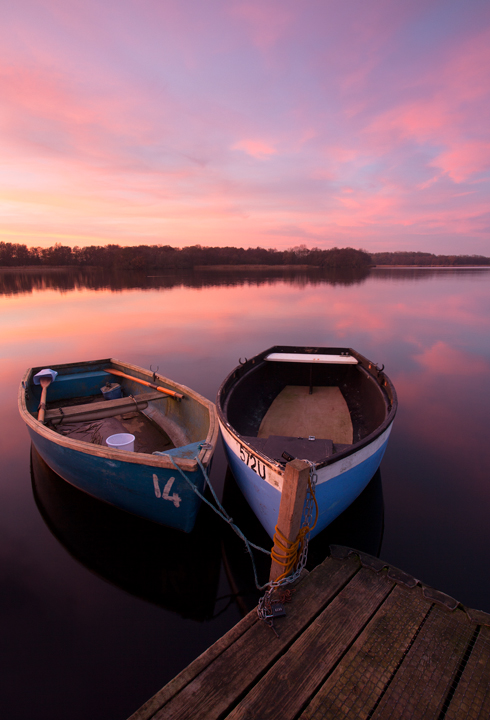 December sunset on the Norfolk Broads
Shooting Star Trails & painting With Light
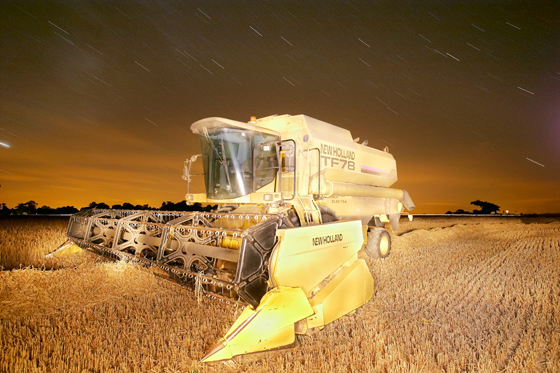
Shooting Star Trails
Photographing Star trails is actually a relatively simple technique that can conjure up some wonderful eye catching images. As the earth rotates, the North Star will appear to remain fixed whilst the other stars appear to rotate around it. During long exposures we are able to record the motion of these stars in our images.
Planning plays a pivotal role in achieving successful star trail images. Before heading out I pay close attention to the weather forecast to ensure it’s going to be a clear night, I find websites such as Metcheck and Wunderground are particularly useful as they will give a cloud coverage breakdown for set times every three hours. Subject matter is a personal preference but I like to include subjects with a strong outline against the sky in my images such as a church, barn, lighthouse or windmill, by using a compass I can also work out which direction the North Star will appear and if possible include this in my images. Once I have found my location I try to set up my gear whilst it’s still light and make sure everything is in order. By arriving whilst it is still light it is much easier to focus and compose the image. I begin by setting up my tripod and composing and focusing the picture, a good solid tripod is essential here and its important to make sure that it’s on solid ground with no chance of moving during the long exposure. At this point I also like to check there is plenty of memory and fully charged batteries in the camera.
Its then a matter of waiting for it to get dark enough before I begin shooting, if I want to recompose an image or re focus in the dark then a large powerful torch is really useful. Its very difficult to see much through the viewfinder so once I think I have everything set up correctly I like to take a short test shot. To do this I select a high ISO setting on my camera, I then take a test shot of around one minute using the bulb facility and a cable release and examine the image on the LCD to check for distracting elements and to check the focus. At this point I also like to check the exposure is correct, the test shot is also a great way to gauge how long the main exposure will need.
A little bit of Maths is required here, but just remember that every time we increase or de-crease the exposure by one stop we are doubling or halving the amount of light coming into the camera. So if a an exposure of one minute is correct at ISO 1600 and we increase that exposure by one stop to ISO 800 then we are doubling the exposure time so the new exposure time would be two minutes, just keep doing this until you get to your chosen ISO and aperture settings to give you your final exposure time.
Stacking Method Or One Long Exposure
To capture star trail images for the main image we have two options, the first is to shoot one long exposure and leave the shutter open during that time, the second process we can use is to shoot lots of shorter exposures and then combine these later using computer software. Both techniques have their advantages and disadvantages. If shooting lots of shorter exposures then exposure times of around 30 seconds work well here. Long exposures increase the amount of noise in the image so the shorter exposures of around 30 seconds stacked together will have less noise. The disadvantages of this technique are that you use more space on memory cards and hard drives, your post production work is increased and the major disadvantage is you have tiny gaps in the star trails. One of the real advantages of the stacking method though is the ability to remove images you don’t want stacked in the sequence such as a frame where a plane with lights has flown through the image or you can even remove a number of frames afterwards to dramatically reduce the exposure of the image. There are a number of software options available to combine the stacked images but one that I have found particularly good is a free piece of software available at www.Startrails.de.
 So to begin shooting using the stacking method we need to set our camera to continuous drive mode, this means when we lock open our shutter when setting a sequence of 30 second exposures.Set your shutter speed to 30 seconds and select your chosen ISO and aperture settings, ISO 400 and F8 often work well.
 We need to illuminate our subject with some light, I find a large torch gives off a nice warm light and offers you lots of control over what parts of the scene you illuminate. You can also use flash. I save this part of the process to the last five or six frames, this means if we over expose the areas we paint with the torch we can simply take a few of the last frames away.
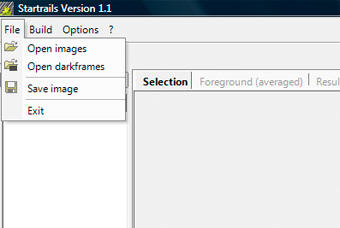
To start the post production stage open up the star trails software, click file, Open images and then select all the frames minus the dark frame. Now select file, open and load in the dark frame. Now we have all our image ready simply click build and then star trails, we now need to wait a while and let the software do its stuff, when the image is completed simply click file and then save as and the image is complete.
Star Trail Tips
Star trail images are always eye catching, but just like photographing images in the day we need to find a good subject and a good composition. Whilst pictures of a night sky alone will result in good star trails if there is no subject matter to the image then they will rarely work well. For stunning images try locating the North Star in your composition, as the earth rotates the other stars will appear to spin around it.
Clear skies are essential for photographing star trails so avoid nights when there is a chance or thick cloud blowing in during the long exposure.
Exposures for star trails can range from several minutes to several hours, the overall exposure length will depend on the amount of motion you wish to capture. One of the major problems with digital cameras during long exposures is there are power hungry, with this in mind I normally limit my exposures to less than 90 mins unless I am using a battery grip with the facility to hold more than one battery at a time.
To help aid with focusing in the dark shine a powerful torch on your chosen subject, once your camera gets a focus lock switch your lens to manual focus so that it doesn’t hunt when you press the shutter button.
Take a compass with you and work out the position of the North Star. As the Earth rotates the North Star will appear to stay fixed and the rest of the stars will appear to rotate around it.
It can get very cold at night particularly when standing around waiting for long exposures so warm clothing is essential.
Safety In Numbers
Night photography can be quite daunting, I like to photograph subjects in remote areas where you don’t attract as much attention. Strange noises & wildlife moving in the bushes can be quite spooky especially if you are on your own, but you soon get used to it. This does put a lot of photographers off from shooting night photography especially lone females. With this in mind I began offering one day workshops photographing at night in Norfolk, UK. I usually hold two or three one day Painting With Light & Star Trail photography workshops throughout the year, these are priced at just £50 and are offered on a first come first served basis. For more details on one day workshops offered in Norfolk, Suffolk, Essex & Derbyshire please visit the workshop section on my website at http://www.theuklandscape.com/Workshops.htm
All Quiet
Apologies for being so quiet on here of late it’s been a hectic Spring & Summer this year. I hope to begin with lots of new posts in the coming months but for now here are some new images from the last few months.

I had an incredible hour of light back in April at Horsey Mill on the Norfolk Broads

Due to the long winter the Daffodils were very late this year. Here are a few captured in a Norfolk Field

Stormy last light illuminating Horsey Windpump

South Creake ford in North Norfolk

The old disused Dilham Canal lock at Ebridge Mill

Stormy last light at Heigham Holmes Drainage Mill near the village of Martham

Horsey Mill with some stormy light about an hour before sunset

Something a bit different for me, I was commissioned to write an article on photographing derelict buildings for a UK photography magazine and here is one of the images I shot of an old derelict mill in the Norfolk Countryside.

Dream light as the last rays of the stormy light illuminate Horsey mill and the sky above.

Derelict Detail shot

Norfolk Moods

This is probably one of the least photograph mills of all the Norfolk Broads mills that have some sails. This is Heigham Holmes and sit’s on an island that is only open to the public one day a year.

Norfolk Mill at night

Reed bed glow

I loved the grey mixed with the red brickwork in this shot at an old flour mill

The very last light on Horsey Mill and my very last shot of the day on this particular evening

A misty morning start at Horsey Mill on the Norfolk Broads

Oil Seed Rape field in the Norfolk Countryside

The picturesque West Somerton Staithe on the Norfolk Broads

Horsey Windpump at first light

Probably one of the laziest images I have ever shot as this one was done practically over the garden fence with a telephoto lens.

West Somerton, Norfolk

Horsey Mill

Cart Gap, Norfolk Coast with the Lee Big Stopper, ten stop filter

Happisburgh Lighthouse shortly before a storm passes overhead

Cromer Pier following a colourful sunset on the Norfolk Coast

Rainbow captures in the dunes at Wells-Next-The-Sea beach on the Norfolk Coast

Happisburgh Lighthouse & Oil Seed Rape

Last light at Winterton dunes on the Norfolk Coast

Summer field near Repps With Bastwick, Norfolk

Weybourne Shingle Beach & Fishing Boats

For Sale. Beach huts at Wells

Morston Quay

Cromer Town reflecting in the wet sand at dusk

Oil Seed Rape on a windy day at Happisburgh

Stormy light looking towards the beach huts at Wells

Happisburgh Lighthouse

Wells Dunes

Weybourne, Norfolk Coast

Cromer Sunset

Happisburgh

Sunset at Winterton, Norfolk

You are probably getting board of Happisburgh by now but here is another, all taken on a number of different visits to get the Oil Rape Seed at different stages.

Norfolk Field near Repps With Bastwick

Winterton Dunes at last light

Wells Next The Sea

Winterton Light

Cromer Pier

Winterton Sunset

Stormy golden light over a freshly harvested barley field in Norfolk

Summer poppies near Burnham Market

Long exposure over the old pillbox on Horsey Dunes

Poppy field at Castle Acre in Norfolk

Sunset and golden light near Repps With Bastwick, Norfolk

Castle Acre Poppies

Poppy field just outside Burnham Market, North Norfolk

Horsey Dunes

Castle Acre

A rare opportunity to see St Benet’s Mill illuminated at night as part of a summer wedding on the Norfolk Broads


